Everything You Need to Know About Motor Mounting Hardware

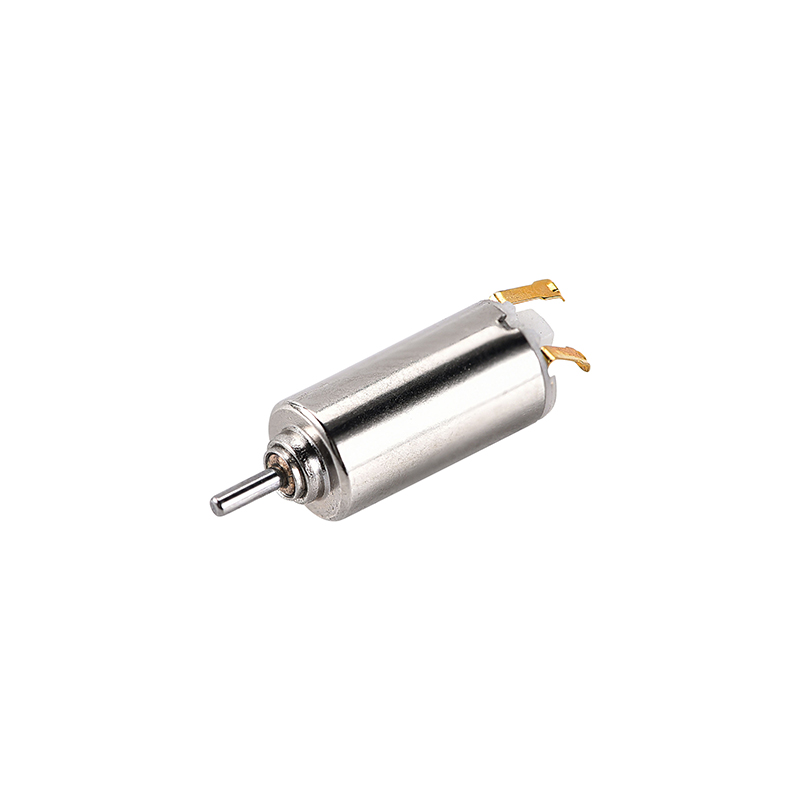
Motor mounting hardware holds your vibration motor in place and keeps it working smoothly. When you use secure mounting, you get better performance, safer operation, and longer device life. Take a look at how mounting impacts your motor:
What Secure Mounting Does | How It Helps Your Motor |
|---|---|
Keeps alignment straight | Cuts down on friction and heat |
Blocks moisture | Shields bearings and windings |
Lowers noise and vibration | Makes operation smoother and extends lifespan |
INEED Motors brings years of experience in vibration motor mounting solutions. You get reliable products and top-notch support every time.
Key Takeaways
Secure motor mounting improves performance and extends the life of your equipment. It reduces friction, noise, and vibration.
Choose the right mounting hardware based on your motor's size, weight, and application needs. Options include adhesive methods, fasteners, and brackets.
Proper installation is crucial. Ensure alignment and secure the motor with the correct bolts to prevent vibration and damage.
Regular inspections help catch issues early. Look for signs of wear, loose bolts, or unusual noises to maintain optimal performance.
INEED Motors offers customizable solutions and expert support to help you select the best mounting hardware for your specific needs.
Types of Vibration Motor Mounting Hardware
When you start working with vibration motor mounting, you’ll notice several hardware options. Each type helps you secure your motor and keep it running smoothly. Let’s break down the main categories and see how they fit into your project.
Mounting Method | Description |
|---|---|
Glue and Adhesive Methods | Uses adhesive pads for a simple, strong hold—no extra mounting bracket needed. |
Fasteners and Clips | Relies on mechanical fasteners to keep the motor in place. |
Injection Moulded Mounts | Features built into enclosures, perfect for compact designs and small motors. |
Brackets and Plates
You’ll use a mounting bracket or plate when you want a solid, reliable base for your motor. Most brackets come in materials like nitrile or thermoplastic elastomers. These materials offer great resistance to chemicals and water, plus they handle vibration well.
Material | Advantages |
|---|---|
Nitrile | Chemical resistance, water resistance, works in tough temperatures |
Thermoplastic Elastomers (TPE) | Damps vibration, resists tears, stands up to impact |
A mounting bracket gives you flexibility. You can adjust the position and make sure your motor mounts stay secure.
Rubber Isolators
Rubber isolators are a smart choice if you want to cut down on noise and vibration. These mounts absorb shock and keep your device quiet. You’ll see real benefits in both radial and axial directions.
Parameter | Value |
|---|---|
Radial Stiffness | 2.81 × 10^6 N/m |
Axial Stiffness | 1.14 × 10^6 N/m |
Radial Loss Factor | 0.165 |
Axial Loss Factor | 0.407 |
Rubber isolators help your mounting motors last longer and work better.
Clamps and Fasteners
Clamps and fasteners give you a strong grip on your motor mounts. You’ll find options like motor mount cleats made from stainless steel, which offer high tensile and shear strength.
Clamp Type | Material | Tensile Strength | Shear Strength | Load Capacity |
|---|---|---|---|---|
Motor Mount Cleats | Sintered stainless steel Type 316 | 60,000 psi | 25,000 psi | Not specified |
Antivibration Machinery Mounts | Varies by model | Not specified | Not specified | 50 lbs to 45,000 lbs |
VSCM/CMSS mounts: 50 lbs to 15,000 lbs per mount
FMD/LF Rubber mounts: 50 lbs to 1,200 lbs
SML/SMLS heavy duty mounts: 5,000 lbs to 45,000 lbs
You can pick the right mounting bracket and clamp for your load and application.
INEED Vibration Motor Solutions
INEED Motors gives you plenty of choices for vibration motor mounting. You can customize vibration strength, speed, and mounting methods. You get adjustable options, not just fixed ones like many industry standards. INEED’s mounting bracket designs fit many devices, from wearables to industrial machines. You can ask for custom motor mounts to match your needs. The team helps you select the best mount for your environment, whether you need chemical resistance, temperature stability, or strong damping.
Tip: INEED’s engineers work with you to design the perfect mounting solution. You get support from start to finish.
Choosing Electric Motor Mounting Hardware
Assessing Application Needs
When you start looking for the right motor mounts, you need to think about your project’s needs. Every application is different. You might need a mounting bracket that fits into a tight space, or you may want a mount that can handle heavy loads and strong vibrations. Take a look at these factors before you choose:
Physical space for the motor
Weight and vibration limits
Mounting options like flanges or brackets
The operating environment matters too. If you work with mounting motors in harsh conditions, you need electric motor mounting hardware that resists corrosion and seals out moisture. Clean, dry spaces let you use simpler mounts. Always match your mounting to the demands of your environment.
Mounting Type | Description | Application |
|---|---|---|
Foot-Mount (B3) | Stable horizontal mounting | Conveyors, large pumps |
C-Face (B14) | Direct coupling | Gear reducers, pumps |
D-Flange (B5) | Heavy-duty, robust | Heavy machinery |
P-Base | Vertical installations | Deep well pumps |
Compatibility and Load
You want your motor mounts to fit perfectly. Compatibility is key. Make sure your mounting bracket matches the motor’s frame size and mounting type. If you use the wrong mount, you risk misalignment, vibration, or even damage. Foot mounting and flange mounting each have their own strengths. Proper installation helps your vibration motor mounting hardware work smoothly.
Tip: Always check the load rating for your mount. Heavy-duty applications need strong mounting brackets and hardware. Lighter loads can use simpler mounts.
Sometimes, wiring can cause issues if you use motors and drives from different brands. Make sure your cables and feedback devices match your application. This helps avoid problems and keeps your mounting motors running reliably.
INEED Quality and Customization
INEED Motors gives you more than just standard motor mounts. You get electric motor mounting solutions that fit your exact needs. The team helps you pick the right mounting bracket, whether you need special materials for tough environments or custom designs for unique spaces. INEED’s quality control checks every mount, so you know your hardware will last.
If you need help, INEED’s technical support guides you through the mounting process. You can ask for custom mounts, get advice on installation, and even request free samples. With INEED, you get mounting hardware that matches your project, your load, and your environment.
Mounting Motors: Step-by-Step Installation
Mounting motors the right way makes all the difference in how your equipment runs. If you want your vibration motor mounting to last, you need to follow a clear process. Let’s walk through each step so you can get the best results and avoid common mistakes.
Preparation and Tools
Before you start, gather everything you need. Having the right tools and a clean workspace helps you avoid delays and keeps your installation safe.
Wrench set
Screwdrivers
Torque wrench
Level
Multimeter
Mounting bolts and washers
Gloves and safety glasses
Ear protection
Wire stripper and cable ties
Cleaning brush
Check your installation site. Make sure the area is dry, well-lit, and has a flat, strong surface. Use a level to confirm the surface is even. This step prevents your motor from shaking or wearing out too soon. Leave enough space around the motor for airflow. Double-check that your power supply matches the motor’s needs.
Tip: Always wear personal protective equipment like gloves, safety glasses, and ear protection. Safety comes first.
If you have questions about which tools or materials to use, INEED’s technical support team can help you choose the right setup for your mounting motors.
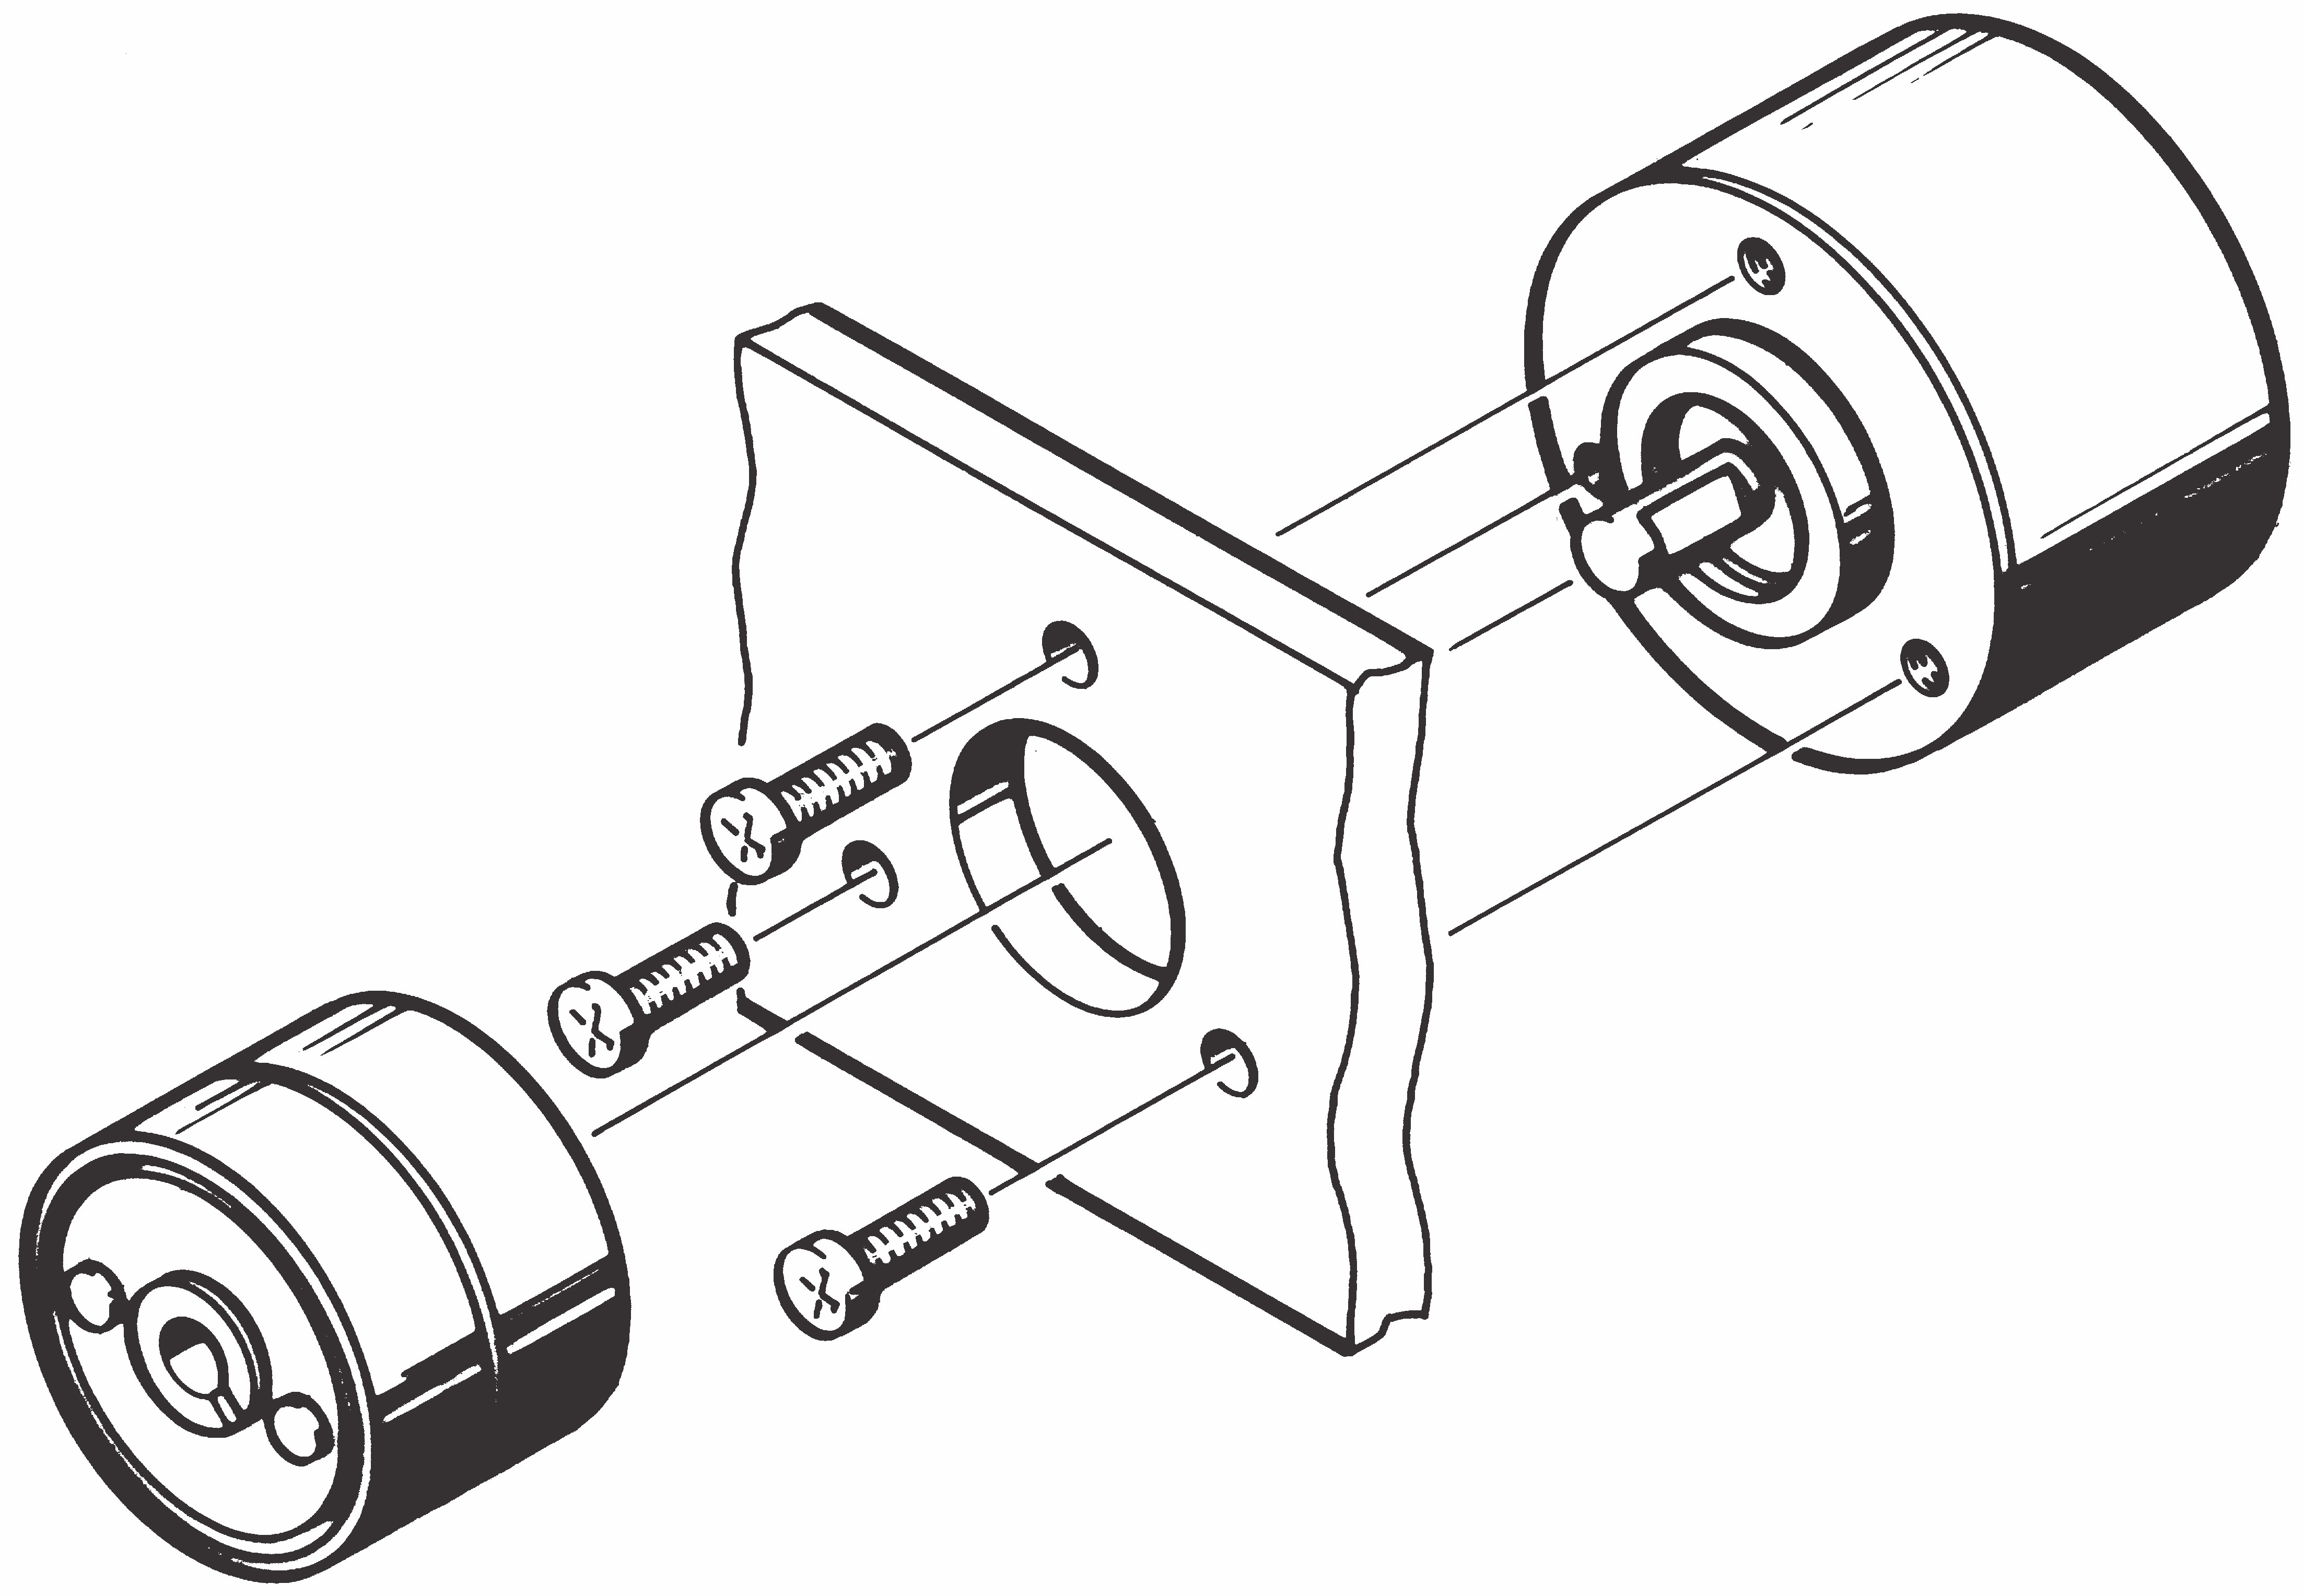
Alignment and Positioning
Getting the alignment right is key for smooth operation. When you position your motor, make sure the mounting bracket lines up with the driven equipment. Use alignment tools or a laser shaft alignment tool for the best results. These tools help you line up the rotational centers of your motor and the load.
If you skip this step or rush it, you might see more vibration, noise, or even early failure. Regularly check the alignment during installation and after you secure the motor. This keeps your motor mounts working well and extends the life of your equipment.
Note: Misalignment is one of the top reasons for vibration and wear. Take your time with this step.
Securing the Motor
Now it’s time to fasten your motor in place. Use the right mounting bolts and washers for your mounting bracket. Tighten the bolts to about 50% of the bolt’s yield stress. This keeps the motor secure without damaging the casing or the mount. If you worry about bolts loosening, wedge-type lock washers can help.
Here’s a quick checklist for this step:
Place the motor on the mounting bracket or plate.
Insert bolts and washers through the motor mounts.
Use a torque wrench to tighten each bolt evenly.
Check that the motor sits flat and does not rock.
Add lock washers if needed for extra security.
Tip: Always match the bolt material to the motor casing and mounting structure. This prevents corrosion and keeps your mounting strong.
If you run into trouble or need advice, INEED’s after-sales service can walk you through the process or recommend the best hardware for your setup.
Final Checks
You’re almost done! Before you power up, run through these final checks to make sure everything is safe and stable:
Inspect the motor for any shipping damage.
Remove all covers or packing materials.
Look for signs of moisture or vibration if the motor was stored.
Drain any oil added for shipping.
Confirm the motor sits on a firm, flat surface.
Check the alignment of couplings and belts.
Open condensation drains at the lowest points.
Make sure nothing blocks the motor’s ventilation.
Check the lubrication system and add grease if needed—don’t overfill.
For horizontal mounting motors, check for soft foot conditions and use shims if needed.
For vertical mounting, ensure the shaft and coupling are within limits.
Review the manual for any special requirements.
Here’s a table of common mistakes and how to avoid them:
Mistake | Description | Consequences |
|---|---|---|
Soft Feet | Motor feet not level | Bearing failures, magnetic field distortion |
Misalignment | Output shaft not lined up | Overheating, seal and winding failure |
Poor Foundation | Weak or uneven base | Extra vibration, early component failure |
Imbalance | Uneven weight on rotating parts | Unwanted vibration, operational issues |
Looseness | Loose bolts or connections | Increased vibration, risk of disconnection |
Make sure all motor mounts are level and anchored.
Align the output shaft with the driven load.
Use a solid foundation for your mounting.
Balance all rotating parts.
Tighten every bolt and connection.
Tip: If you notice any issues during these checks, reach out to INEED’s technical support. They can help you troubleshoot and keep your vibration isolation system running smoothly.
By following these steps, you set up your vibration motor mounting for long-term success. You avoid the most common pitfalls and get the most out of your mounting motors. INEED Motors stands by you with expert advice, custom mounting bracket options, and ongoing support for every project.
Maintenance and Troubleshooting
Inspection Tips
You want your motor mounts to last, so regular inspection is key. Start by checking your mount every week if you don’t have any data on wear. Track the results and look for patterns. Once you see how fast things degrade, you can adjust your inspection schedule.
If you’re unsure, begin with weekly checks. After you spot a full cycle of wear, divide that time by three to set your next inspection interval.
Some companies check their mount every month, while others do it every two months or even every three months for larger equipment. The best plan is to understand how your mounting bracket and motor mounts behave over time.
Clean the area around each mount.
Look for loose bolts or signs of corrosion.
Use a flashlight to spot cracks or warping.
Listen for unusual noises during operation.
Signs of Mounting Issues
Spotting trouble early helps you avoid bigger problems. Watch for these signs that your mount needs attention:
Excessive movement of the motor during operation.
Increased noise or vibration isolation problems.
Cracks, rust, or warping on the mounting bracket.
The motor appears tilted or off-center.
Impact noises like banging or clunking.
Heavy vibrations felt through the device.
The motor shifts position when starting or stopping.
If you notice any of these, inspect your motor mounts right away.
Solutions for Vibration and Noise
You can fix most vibration isolation issues with a few simple steps. Here’s what you should do:
Check the power supply for missing phases.
Make sure the motor isn’t out of phase.
Inspect the shield for damage or rubbing.
Confirm the contact surface between the vibrating machine and the mount meets requirements.
Tighten anchor bolts evenly.
Measure vibration acceleration to see if it matches your needs.
Adjust the eccentric block symmetrically if amplitude changes.
For systems with two motors, adjust the phase sequence if needed.
For misalignment or instability, use laser alignment tools. Assess the current alignment before making changes. Add shims for gradual adjustments. Tighten bolts slowly and evenly. Keep checking alignment as you work. After you finish, monitor vibration to make sure the mount is stable.
INEED Motors supports you with ongoing quality checks and expert advice. If you need help with mounting motors, reach out for technical support or guidance on choosing the right mounting bracket.
Choosing the right mounting hardware for your vibration motor makes a big difference. You get longer machine life, lower maintenance costs, and smoother operation when you pick high-quality parts. Here’s what you gain:
Your equipment lasts longer because it stays protected from harmful vibrations.
You spend less on repairs since parts wear out slower.
Your machines run steady and efficient.
INEED helps you with common questions, like how to watch power use, oil the bearings, and spot early wear. If you want expert advice or free samples, just reach out. You’ll always get support that fits your needs.
FAQ
How do you choose the right mount for your vibration motor?
You want to match the mount to your motor’s size, weight, and vibration level. Look for mounting options that fit your space and environment. If you need extra durability, pick a mount with high strength metal construction.
Can you reuse motor mounts after replacing a motor?
You can reuse a mount if it shows no signs of wear, corrosion, or damage. Always inspect the mounting hardware before reinstalling. If you see cracks or warping, replace the mount for safety.
What’s the best way to reduce noise from mounting motors?
Rubber isolators work well for noise reduction. You can also use a mount designed for vibration isolation. Make sure your mounting is secure and aligned. Loose or misaligned mounts often cause extra noise.
How often should you inspect your mounting hardware?
Check your mount every month if you use your equipment regularly. If you notice vibration or noise, inspect the mounting right away. Regular checks help you catch problems early and keep your motor mounts working smoothly.
Do you need special tools for mounting motors?
You need basic tools like wrenches, screwdrivers, and a torque wrench. For precise alignment, use a level or laser tool. Some mounting brackets may require specific fasteners, so check your mount’s instructions.
See Also
Identifying and Minimizing Vibration in Motor Mounts
Understanding Motor Brushes: Key Parts for Vibration Motor Care
A Guide to Interpreting and Analyzing Motor Diagrams
All You Need to Know About Vibration Motors
Decoding Motor Diagrams: Components and Uses in Vibration Motors
Get Custom Micro DC Motors from
INEED Motors!
Leading Brand in Vibration Motor Manufacturing Industry