5 Easy Steps to Master Arduino Vibration Motors

Have you ever wanted to make your projects more fun? Arduino vibration motors can help you do that! They can mimic a heartbeat in wearables or send motion alerts in robots. These small motors are great for user interaction and are quiet, with noise as low as 10 dB. Whether you’re making a cool DIY gadget or testing touch feedback, vibration motors offer many creative ideas. Grab your Arduino and try them—you’ll be surprised by what you can make!
Key Takeaways
Pick the right vibration motor for your project. Coin motors work well for wearables, and cylindrical ones fit bigger projects.
Double-check your wiring and circuit diagram before testing. This avoids problems and makes sure the motor runs properly.
Add PWM to your code to adjust motor speed and strength. This saves energy and improves how the motor vibrates.
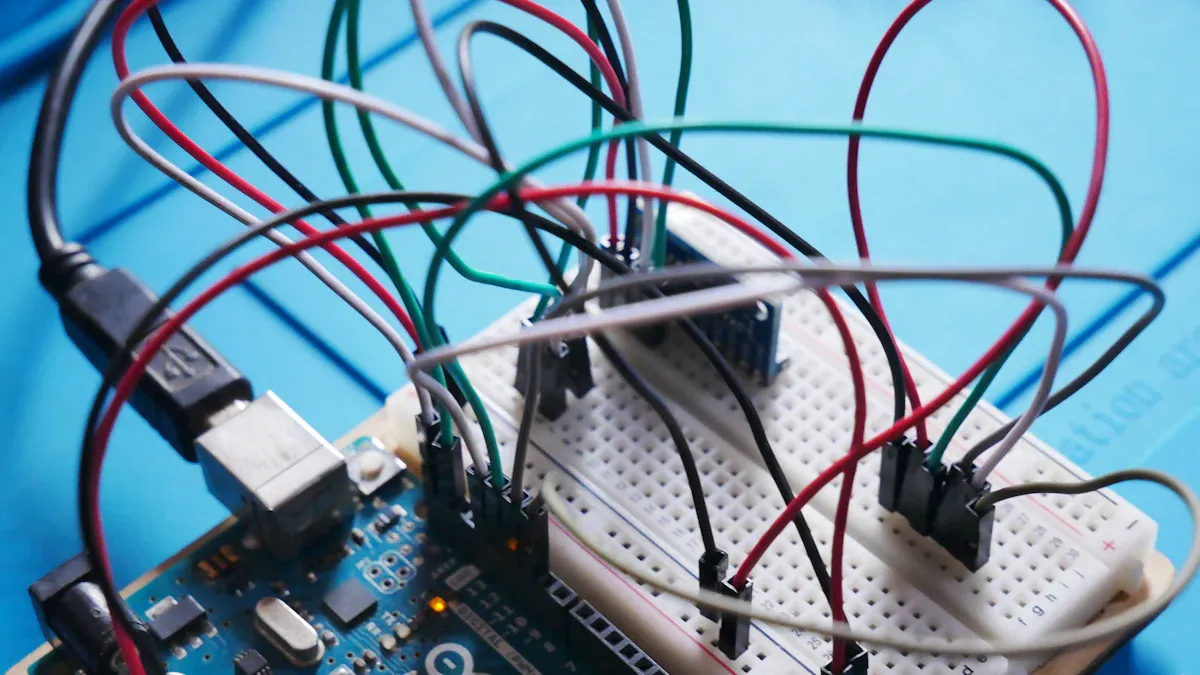
1. Wiring Arduino Vibration Motors
Choosing the Right Arduino Vibration Motor
Before wiring, pick the best motor for your project. Arduino vibration motors come in different shapes and sizes. The most common types are coin and cylindrical motors. Coin motors are small and great for wearables. Cylindrical motors are stronger and fit bigger projects. Think about your project’s size, power, and vibration needs. For example, a coin motor on a silicone pad works well for haptic feedback. It reduces extra vibrations and feels better for users.
Creating an Arduino Vibration Motor Circuit Diagram
After choosing your motor, make a circuit diagram. A simple setup needs a few parts. Use a BJT transistor as a switch, an Arduino UNO board for power, and a push button to control the motor. Here’s a helpful table for your circuit:
Component | Description |
|---|---|
BJT Transistor | Acts as a switch to control the motor. |
Arduino UNO Board | Supplies 5V DC power to the motor. |
Push Button | Turns the vibration motor ON or OFF. |
Vibration Motor | Creates vibrations when powered. |
This setup helps the motor run smoothly. It also makes fixing problems easier.
Power Supply and Safety Tips
Powering the motor correctly is very important. Most Arduino vibration motors need 3V to 5V. You can use the Arduino’s 5V pin for one motor. For more motors, use an external power source to avoid damage. Always check your wiring to prevent short circuits. Cover bare wires with heat shrink tubing or tape for safety. Never touch the motor while it’s running—it might be hot!
Pro Tip: Using multiple motors? Add 2N7000 N-channel MOSFETs for better control. This setup works with six pager motors. You can even add sensors like a 9-axis IMU for advanced features.
With proper wiring and safety steps, your Arduino vibration motor is ready to go!
2. Programming Arduino Vibration Motors
Setting Up the Arduino IDE
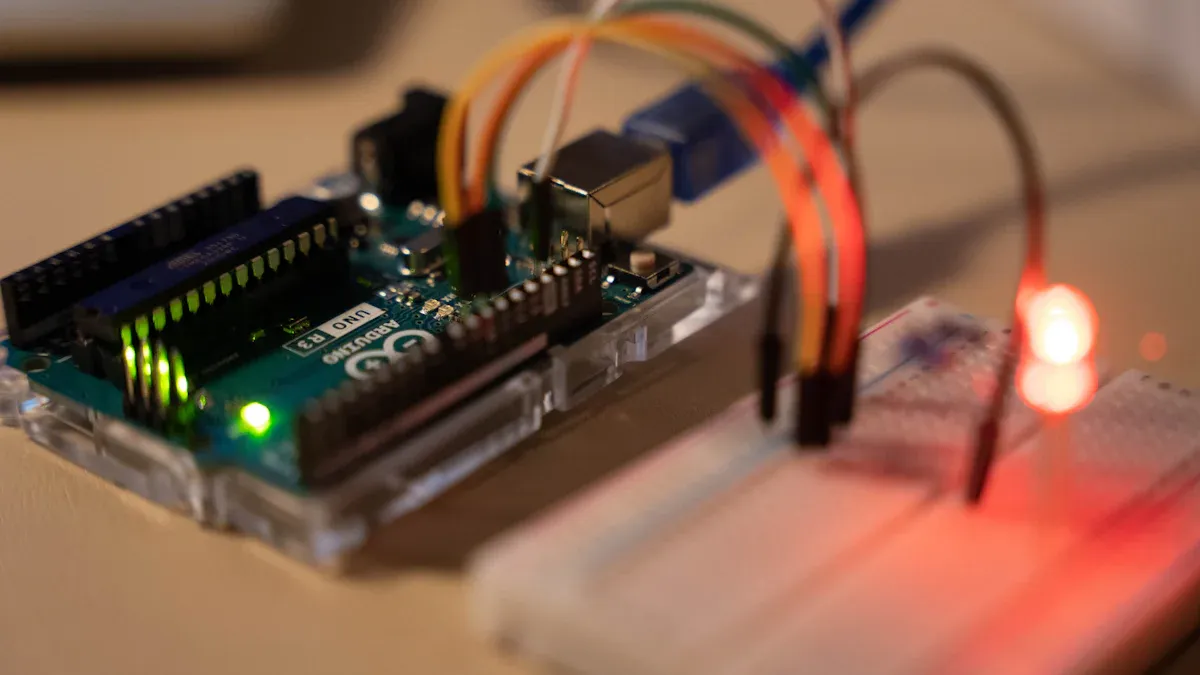
To program your Arduino vibration motor, first install the Arduino IDE. Download it from Arduino’s website and install it on your computer. Plug your Arduino board into your computer using a USB cable. Open the IDE and choose your board type and port in the "Tools" menu. This step lets the IDE talk to your board.
You might need libraries for advanced features later. For basic motor control, no extra libraries are required. Always update your IDE to use new features and avoid bugs.
Writing Code for Arduino Vibration Motor Control
Here’s a simple code example to control your motor:
const int motorPin = 3;
void setup() {
  pinMode(motorPin, OUTPUT);
}
void loop() {
  analogWrite(motorPin, 255); // Motor ON
  delay(1000);
  analogWrite(motorPin, 0);   // Motor OFF
  delay(1000);
}
This code turns the motor on for one second, then off for one second. Connect the motor’s positive wire to power and the negative wire to ground. Use a transistor to help the Arduino control the motor.
Using PWM for Speed and Intensity Control
PWM, or Pulse Width Modulation, adjusts motor speed and vibration strength. Changing the duty cycle changes how fast or strong the motor vibrates. For example, a 50% duty cycle slows the motor and saves energy.
PWM is precise and works by controlling the motor’s power. Try different duty cycles to get the vibration effect you want.
Tip: Use
analogWrite()in your code to easily apply PWM. It’s a simple way to control vibration motors.
3. Testing Arduino Vibration Motors

Checking the Circuit Diagram
Before testing, review your Arduino vibration motor circuit diagram carefully. Look for loose wires or wrong connections. Make sure the motor’s positive and negative ends are correct. If using a transistor, check its position matches the diagram.
Use a multimeter to measure voltage at key spots. This can help find problems before turning on the power. If you have more than one motor, test them one by one to avoid mix-ups.
Fixing Common Problems
Troubleshooting is normal, so don’t stress if it doesn’t work right away. Here are some common issues and solutions:
Motor doesn’t vibrate: Check if the motor gets power. Ensure the transistor and Arduino pins work properly.
Motor vibrates too much: Strong vibrations can affect sensors like vibration sensors. Use tools like VIBE graphs (VibeX, VibeY, VibeZ) to monitor levels. Keep vibrations below 30m/s/s for smooth operation.
Motor gets hot: Lower the duty cycle in your code or add a heat sink to cool it down.
Pro Tip: If you’re using sensors, test them with the motor to make sure they work well together.
Staying Safe and Testing Reliability
Safety is important when testing your Arduino vibration motor. Don’t touch the motor while it’s running—it might be hot. Keep wires neat to avoid short circuits. If using external power, ensure it matches the motor’s voltage needs.
Test the motor in different situations for reliable performance. Adjust the PWM duty cycle to change vibration strength. This helps you fine-tune your vibration motor control for your project.
Reminder: Always unplug your Arduino before changing the circuit setup.
4. Integrating Arduino Vibration Motors into Projects
Combining Arduino Vibration Motors with Vibration Sensors
Using vibration motors with sensors makes projects smarter and cooler. For example, a piezo sensor can sense vibrations and start a motor. Adding a small fishing weight improves the sensor’s sensitivity. Use an op-amp with a gain of 221 to boost the signal. A comparator helps set limits for when the motor should turn on. This setup ensures the motor reacts only to specific vibration levels.
Enhancement Technique | Description |
|---|---|
Weight Addition | Attach a fishing weight to the piezo sensor for better sensitivity. |
Signal Amplification | Boost the piezo sensor’s output using an op-amp with a gain of 221. |
Comparator Usage | Use a comparator to set limits, sending signals to the Arduino. |
This setup is great for projects like alarms or wearable gadgets. It adds smart responses to your designs.
Designing Circuits for Multiple Motors
Want to control many motors at once? You’ll need a good circuit. Use opto-isolators to protect your Arduino from electrical harm. Power the motors with a 9V battery but lower it to 4.5V for safety. Standard 3V motors work best and use about 200mA at full power. Keep the duty cycle under 37.5% to avoid overheating.
Component | Description |
|---|---|
Circuit Configuration | Uses opto-isolators and PWM signals to manage multiple motors. |
Testing Procedures | Check PWM signals with an oscilloscope and test motor performance. |
Power Supply | A 9V battery powers motors, reduced to 4.5V for safety. |
Motor Specifications | 3V motors that use 200mA at full power. |
Duty Cycle Limitations | Keep duty cycle below 37.5% to stop motors from overheating. |
Isolation Method | Opto-isolators protect the Arduino from motor-related damage. |
This design works well for robots or systems needing precise motor control.
Optimizing for Efficiency and Performance
To make your motor setup better, focus on saving energy. Use PWM to control vibration strength and reduce power use. Test your circuit with an oscilloscope to ensure smooth operation. For advanced projects, like Virtual Haptic Air Hockey, motors can create realistic feedback. In this project, ERM motors connected to a Hapkit board made collision vibrations and side forces for better gameplay.
Feature | Description |
|---|---|
Project Name | Virtual Haptic Air Hockey |
Vibration Motor Type | ERM (Eccentric Rotating Mass) motors |
Purpose | Add realistic haptic feedback for a better user experience. |
Integration Method | Connected to Hapkit board pins for collision feedback. |
Haptic Features | Creates collision vibrations and side forces for a sensory effect. |
User Feedback | Users felt specific vibrations even with general motor buzzing. |
Technical Implementation | Arduino tracked movement and controlled vibration timing. |
By improving your setup, you can build efficient and impressive projects.
5. Exploring Applications of Arduino Vibration Motors
Haptic Feedback in Wearable Devices
Arduino vibration motors are great for adding haptic feedback to wearables. They make devices more useful and interactive. For example, a wearable system helped cane users detect obstacles. It used three wristbands with motors, sensors, and an Arduino board. Tests in cities showed it could find slopes and steps easily. Users understood different vibration patterns, making the system helpful and reliable.
Another example is a soft robotic wristband that gave movement feedback. It used air-powered parts and was tested in a virtual task. Results showed haptic feedback helped users do better in hard tasks. These examples show how vibration motors improve wearable devices, making them smarter and easier to use.
Robotics and Motion Alerts
In robots, Arduino vibration motors help with motion alerts. Studies show vibration feedback works better than visual signals for slippage detection. For example, when a robot arm touches an object, vibrations show the exact contact moment. This improves accuracy and user control of robotic systems.
Adding vibration motors to robots makes them faster and more precise. Whether building a robot arm or a motion sensor, motors add touch feedback that boosts performance.
Creative DIY Arduino Projects
Arduino vibration motors inspire many creative projects. Artists use them to make sculptures that vibrate when touched. Paintings can become sensory experiences with vibrations or sounds when pressed.
You can also create guides using vibration signals. Imagine a museum exhibit where visitors feel vibrations to explore. These projects show how versatile vibration motors are. Whether you're an artist, hobbyist, or student, motors can make your ideas more exciting and unique.
Learning how to use Arduino vibration motors is simple and fun. You now know how to connect, code, check, and use them in projects. It’s time to try them yourself! Test setups to find what fits your project best. These motors are flexible and make your ideas real.
Tip: Begin with easy setups, then expand as you learn more.
FAQ
How do you connect shock sensors to an Arduino vibration motor?
Use jumper wires to link the sensor and Arduino. Connect the sensor's output pin to a digital pin on the Arduino board.
Can shock sensors be programmed to work with vibration motors?
Yes! Write code to sense signals from the sensor. Use "if" statements to turn the motor on when the sensor detects input.
What’s an example project using knock sensors and vibration motors?
Make a basic alarm system. Knock sensors find vibrations, and the motor alerts you. This is easy and perfect for beginners.
See Also
Explore The Mechanism Behind 3V DC Motor Vibrations
Managing Resonance Frequencies In Vibration Motors For Consistent Performance
Essential Engineering Concepts For Coin Vibration Motor Frequencies
Effective Strategies For Diagnosing And Resolving Motor Vibrations
Get Custom Micro DC Motors from
INEED Motors!
Leading Brand in Vibration Motor Manufacturing Industry
