How to Master 5V Motors for DIY Projects

5V motors are important for DIY projects, and this is why we present the Complete Guide to 5V Motors. They are precise and efficient, making them ideal for powering small robots or automating tasks. These motors operate effectively while consuming little energy. For instance, a test demonstrated that a 5V motor ran for 15 hours, completing 240,232 spins before stopping. This efficiency makes them perfect for creative ideas. Learning how motors work, as outlined in the Complete Guide to 5V Motors, opens up many possibilities. You can build a robotic arm or an automatic fan. Understanding 5V motors equips you to create amazing things.
Key Takeaways
5V motors work well for DIY projects like robot arms or fans. They use little power and move accurately.
Learn about micro motors, DC motors, and stepper motors. This helps you pick the best one for your project.
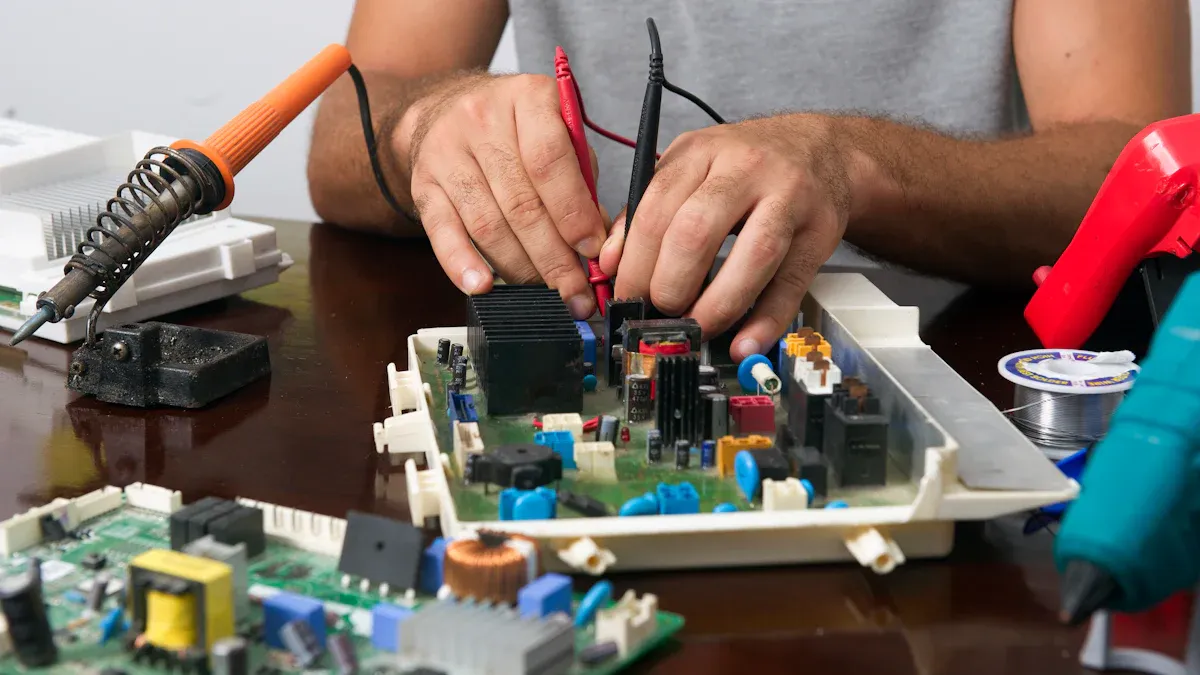
Connect 5V motors to Arduino with proper wiring and a motor driver. This keeps them safe and working well.
Check voltage and current to stop overheating and keep motors smooth. Use tools like multimeters to test how they work.
Begin with easy projects to grow your skills. Try different motors and ideas to learn more and be creative.
Complete Guide to 5V Motors
What are 5V motors?
A 5V motor is a small motor that uses 5 volts of power. These motors are popular in DIY projects because they are small, save energy, and are easy to use. They change electrical power into movement, making them great for spinning or moving things. You can find 5V motors as DC motors or stepper motors, each with unique uses.
How a 5V motor works depends on its type. Stepper motors turn by powering electromagnets in order. Unipolar stepper motors use one positive voltage, while bipolar stepper motors switch between positive and negative voltages. Bipolar stepper motors have stronger torque because they use coils better.
Types of 5V motors
There are different kinds of 5V motors, each made for specific tasks:
Micro motors: These tiny motors are used in toys or small gadgets. They are light and fit in tight spaces.
DC motors: These motors spin continuously and work well for fans or wheels. They are simple and easy to find.
Stepper motors: These motors move in small steps, perfect for accurate tasks like robotic arms or 3D printers.
Here’s a table comparing devices that work with 5V motors:
Device | Description | Specifications |
|---|---|---|
CurrentSensor | Detects current using ACS712 sensor | Needs 5V; Sensitivity: 66 mV/A; Current range: ±30 A |
RotaryIncrementalEncoder | Tracks rotation with Omron E6B2-CWZ6C | Needs 5V; 1800 pulses per turn; Uses 80 mA max |
ArduinoBoard | Arduino Mega 2560 Rev3 microcontroller | Needs 5V; 54 digital pins; 20 mA per pin |
EncoderCounterBoard | Counts rotations with LS7366R IC | Works with 3-5.5V; 40 MHz count speed at 5V; 32-bit counter |
Common applications in DIY projects
You can use 5V motors for many DIY ideas. Here are some examples:
Robotic arms: Stepper motors help make precise movements to grab or lift.
Automated fans: DC motors can run small fans for cooling or airflow.
Line-following robots: Stepper motors and sensors can create robots that follow paths.
These motors are also great for LEGO builds. For example, LEGO 5V motors can add motion to cars or machines. Whether your project is simple or advanced, 5V motors give you the tools to make it work.
Technical Specifications of 5V Motors
Voltage and current requirements
Knowing the voltage and current needs of a 5V motor is important. These motors use a 5V DC power supply, which works with microcontrollers like Arduino. Without any load, they usually need about 100mA of current. However, the current can rise if the motor has to work harder.
Here’s a simple table of key details:
Parameter | Value |
|---|---|
Operating Voltage | 5V DC |
Current Rating (No Load) | 100mA |
Power Rating | 0.5W |
Speed | 150 RPM |
Torque | 0.2 Nm |
Make sure your power source can handle the motor's current, especially under load. A current sensor can help you check the motor's performance and avoid overheating.
Torque and speed characteristics
Torque and speed decide how well a 5V motor works. Torque is the force that makes the motor spin, while speed shows how fast it turns. Different motors have different torque and speed levels. For example, stepper motors are great for tasks needing precise torque, like robotic arms.
Here’s a table comparing torque and speed for various motors:
Motor Type | Torque (Nm) | Rotational Speed |
|---|---|---|
Stepper Motor TPP11M | 0.13 | 140 rad/sec |
Synchronous Motor PA, PB | 0.055 - 0.0865 | 300 - 600 RPM |
Brushless Motor BLDC FDB SP2B | N/A | 15,000 RPM |
Brushed Motor BDC-N32 | 0.003 - 0.06 | N/A |
Pick a motor based on your project’s needs. For example, a line-following robot might need medium torque and speed. A robotic arm, however, will need higher torque for better control.
Pin configurations and motor connections
Hooking up a 5V motor properly is key for smooth operation. Most motors have wires for easy setup. A DC motor usually has two wires: one for positive and one for ground. Stepper motors have more wires or pins to manage their coils.
Here’s a common pin setup for a stepper motor:
Pin Number | Function |
|---|---|
1 | Coil A Positive |
2 | Coil A Negative |
3 | Coil B Positive |
4 | Coil B Negative |
To connect the motor to a microcontroller, use a motor driver or H-bridge circuit. These tools control voltage and current, keeping the motor and controller safe. Always check your wiring to avoid damage or short circuits.
Tip: Use a multimeter to check your connections and confirm voltage levels before turning on the motor.
How to Use 5V Motors
Wiring and circuit setup
Connecting a 5V motor is simple if done step by step. First, gather what you need: a motor driver, wires, a breadboard, and a power source. The motor driver links the motor to the microcontroller and controls voltage and current.
Here’s a basic wiring chart to guide you:
Component | Connection |
|---|---|
Jumper Wire | 5V Rail ( + ) |
Jumper Wire | GND Rail ( - ) |
Motor Driver | C1-C8 (VM on C1) |
Motor | A4 (Red +), A5 (Black -) |
Digital Pin 8 | J5 |
Digital Pin 9 | J6 |
Digital Pin 10 | J7 |
Digital Pin 11 | J1 |
Digital Pin 12 | J2 |
Digital Pin 13 | J3 |
Tip: Check all connections before turning on the power. Wrong wiring can harm the motor or driver.
When attaching the motor to the driver, match the positive and negative ends correctly. Use the breadboard to keep wires neat and organized. This reduces the chance of short circuits and makes fixing problems easier.
Programming the motor with a microcontroller
After wiring, program the motor using a microcontroller like Arduino. The motor driver helps control the motor’s speed and direction. Below is an example Arduino code to manage a 5V motor:
//PIN VARIABLES
const int AIN1 = 13;           //control pin 1 on the motor driver for the right motor
const int AIN2 = 12;           //control pin 2 on the motor driver for the right motor
const int PWMA = 11;           //speed control pin on the motor driver for the right motor

void setup() {
  pinMode(AIN1, OUTPUT);
  pinMode(AIN2, OUTPUT);
  pinMode(PWMA, OUTPUT);
}

void loop() {
  digitalWrite(AIN1, HIGH);
  digitalWrite(AIN2, LOW);
  analogWrite(PWMA, 255);
  delay(3000);
  digitalWrite(AIN1, LOW);
  digitalWrite(AIN2, HIGH);
  analogWrite(PWMA, 255);
  delay(3000);
  digitalWrite(AIN1, LOW);
  digitalWrite(AIN2, LOW);
  analogWrite(PWMA, 0);
  delay(3000);
}
This code shows how to change the motor’s speed and direction. The digitalWrite command sets the direction, while analogWrite adjusts the speed. Upload the code to your Arduino, and the motor will start working.
Note: If you’re using servo motors, add the Servo library in Arduino IDE. This library makes controlling servo motors easier with ready-made functions.
Best practices for safe and efficient usage
To keep your 5V motor running well, follow these tips:
Use the right power source: Make sure the power supply matches the motor’s needs. This avoids overloading or underpowering the motor.
Watch voltage and current: Use tools like meters to check performance. Monitoring helps spot problems like high current or low voltage early.
Protect your motor: Pick a motor driver with safety features like overheating and short-circuit protection.
Criteria | Description |
|---|---|
Match the motor’s highest and usual power needs. | |
Load Regulation | Keep voltage steady even if the load changes. |
Protection Features | Protect against overheating, short circuits, and wrong connections. |
Tip: Check your motor and driver often for damage or wear. Fixing small issues early can save time and money later.
By following these steps, your motor will last longer and work better for your DIY projects.
DIY Project Ideas with 5V Motors
Simple robotic arm
Making a robotic arm with 5V motors is fun and easy. Use stepper motors for accurate movements. The arm can pick up small items or draw. Build a light frame using wood or plastic. Attach motors to the arm's joints for smooth motion. Program the arm using a microcontroller like Arduino.
For better control, use a motor driver with PWM output. This lets you change the motor's speed and torque. Add a servo motor to the gripper for a stronger hold. Use a power source that matches the motor's needs for smooth operation.
Tip: Try an STM32F405 microcontroller for advanced motor control. It handles complex tasks and works reliably.
Automated fan or cooling system
You can make a fan or cooling system with a 5V motor. A DC motor is great because it spins continuously and is simple to use. Attach the motor to a fan blade and connect it to power. Add a temperature sensor to turn the fan on when it gets hot.
For small designs, use a Noctua NF-A4x20 fan. It runs on 5V, uses only 0.5W, and is quiet. This fan is perfect for cooling small devices like routers or gadgets.
Parameter | Value |
|---|---|
Voltage | 5V |
Speed | 5000 RPM |
Airflow | 9.4 m³/h |
Noise Level | 14.9 dB(A) |
Note: Use a 4-pin PWM connector for better speed control and less noise.
Line-following robot
A line-following robot is a fun project using 5V motors. Use two DC motors to move the wheels. Add infrared sensors to detect the line. Program the microcontroller to adjust motor speeds based on the sensor's input. This keeps the robot on the path.
Pick motors with a gear ratio of 10:1 to 30:1 for good performance. Use lightweight wheels, about 32 mm wide, for better movement. A battery-powered setup makes it portable and easy to use.
Motor Type | Voltage | Gear Ratio | Wheel Diameter | Wheel Weight |
|---|---|---|---|---|
High-Power | 6V | 10:1-30:1 | 32 mm | 3.2 g |
Tip: Add an iCE40 FPGA for safety checks and fault protection. This ensures the robot works reliably.
Troubleshooting and FAQs
Common problems and fixes (e.g., motor won’t spin, gets too hot)
When using a 5V motor, you might face some issues. Here’s how to solve them:
Motor won’t spin:
First, check if the motor is getting 5V power. Look at the wires to see if they are loose or broken. If the motor still doesn’t work, use a multimeter to test it. Sometimes the motor driver is broken, so replace it if needed.Gets too hot:
Heat can ruin your motor. It can weaken magnets or damage insulation, causing short circuits. To avoid this, don’t overload the motor and make sure it has airflow. If it feels hot, stop using it and let it cool down.Voltage drop:
Voltage drop can make the motor slow or stop working. This happens when wires have too much resistance or the motor uses too much current. Use shorter and thicker wires to fix this. Also, make sure your power source can handle the motor’s needs.
Tip: Check your motor and wires often for damage. Fixing small problems early can save you money.
Common questions about 5V motors
Can I use a 5V motor with Arduino?
Yes, you can. Use a motor driver to connect the motor to Arduino. The driver gives the motor the right voltage and current.What’s different between DC motors and servo motors?
DC motors spin all the time and are good for fans or wheels. Servo motors move to exact positions, making them great for robotic arms.Why does my motor make noise?
Noise can mean something is wrong inside the motor. Check for loose parts or dirt. Add oil to moving parts if needed.How can I change the speed of a 5V motor?
Use pulse-width modulation (PWM) with a motor driver. PWM changes how much power the motor gets to control its speed.Can I use one power source for many motors?
Yes, but make sure the power source can handle all the motors’ current needs. Use separate drivers for each motor to control them better.
Note: Always follow the instructions from the manufacturer to keep your motor safe and working well.
Learning how to use a 5V motor can be exciting. It lets you try many cool DIY projects. You now know about motor types, wiring, coding, and fixing problems. These skills help you make things like robotic arms or robots that follow lines. Begin with simple projects and test different motors to find the best fit. As you practice, try harder designs to improve your skills. Each project you finish helps you become better at using motors for creative ideas.
FAQ
What is the best way to power a 5V motor?
Use a steady 5V DC power source like a USB adapter or battery. Make sure the power supply can handle the motor's current needs. This prevents problems with performance.
Tip: If your power source gives more than 5V, use a voltage regulator.
Can you control multiple motors with one microcontroller?
Yes, you can. Use a motor driver or shield to connect them. Assign different pins on the microcontroller for each motor. This lets you control speed and direction separately.
Why does my motor stop working under load?
The motor might not get enough current. Check the power source and wiring for issues. If the motor driver is too weak, replace it with one that fits the motor's load.
How do you reduce noise from a motor?
To make the motor quieter, oil its moving parts and check alignment. Use rubber mounts to reduce vibrations. Add capacitors to the motor terminals to lower electrical noise.
Can a 5V motor run continuously?
Yes, but watch its temperature. Running too long can make it overheat. Use a cooling fan or lower the load to keep it safe.
Note: Always follow the manufacturer's instructions to use the motor safely.
See Also
Utilizing 3V DC Motors Across Five Different Devices
Five Simple Steps for Mastering Arduino Vibration Motors
Ten Effective Vibration Motors to Enhance Arduino Projects
Seven Innovative Methods for Using Small Motors in Home Automation
Get Custom Micro DC Motors from
INEED Motors!
Leading Brand in Vibration Motor Manufacturing Industry